Red scars can be difficult to conceal, but with the right makeup techniques, you can help minimize their appearance. Here are some steps to follow for covering red scars with makeup:
- Prep your skin: Before applying makeup, it’s important to cleanse your skin and apply a moisturizer to create a smooth base. Let the moisturizer sink in for a few minutes before moving on to the next step.
- Color-correct: Redness can be neutralized with a green color corrector. Choose a green primer or concealer and apply it to the scar with a small brush or your fingertips. Blend it out until it is smooth and even.
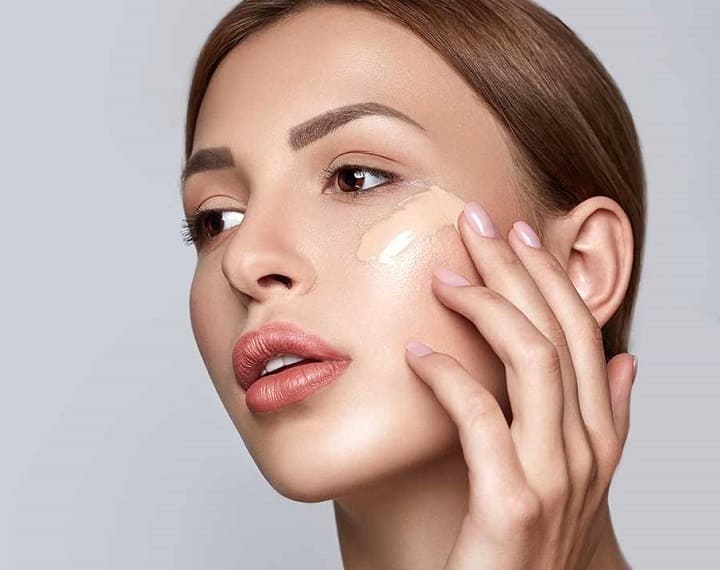
- Apply foundation: Apply a medium to full coverage foundation with a brush or sponge, focusing on the scarred area. Dab the foundation onto the skin, blending it out towards the edges.
- Conceal: Apply a high-coverage concealer on top of the scar, using a small brush or sponge. Dab the concealer onto the scar, blending it out until it is seamless with the surrounding skin. Be sure to use a shade that matches your skin tone to avoid highlighting the scar.
- Set with powder: Use a translucent setting powder to lock the makeup in place and prevent it from smudging or transferring. Use a fluffy brush to apply the powder to the scarred area, pressing it into the skin gently.
- Finish with setting spray: Once your makeup is in place, use a setting spray to help it last throughout the day. Hold the spray a few inches away from your face and mist it all over.
By following these steps, you can cover up red scars with makeup and create a flawless, natural-looking finish. Remember to choose products that are non-comedogenic and non-irritating, especially if you have sensitive skin.
What color cancels out red scars?
Green concealer is a beloved tool in our makeup arsenals because of the way it masks uneven skin tones. Because green is a complementary color to red (see: the color wheel) it’s able to neutralize fiery active pimples, broken capillaries, acne scars, sunburns, and all types of inflammation.
What color covers red scars?
So, when covering redness, opt for the Christmas counterpart: green. This sounds counterintuitive to many people, but using a green primer or concealer is one of the best ways to counteract redness, whether from rosacea, scarring, psoriasis, or simple blushing.
How do you color correct red scars?
You want to select a color corrector that’s the opposite hue of what you’re trying to cover. To cancel out redness—scars, blemishes, broken capillaries—use a green-based color corrector. Yellow-based products neutralize purple and blue hues, like spider veins, under eye circles, and bruises.
How do you cover up red marks?
When it’s really really red. “You can cancel out the obnoxious redness with a green primer or green concealer applied directly onto the blemish,” says Moultrie. Next, apply yellow-based concealer and feather out the outer edges to blend this concealed area with the healthy skin surrounding it.
What color foundation cancels out redness?
“Same thing [goes] for extra redness — green is the opposite [of] red on the color wheel and will neutralize redness caused by rosacea or blemishes.”
How do you cover up red scars?
If you have a scar on the face or other exposed area, silicone sticks with SPF are the ideal solution. If you wish to conceal your scar, applying silicone gel sheeting in natural skin color will completely cover the scar site while allowing it to blend in with the surrounding tissue.
What color covers up red spots?
Green Concealer
Green is opposite the color wheel from red, so it’s perfect for hiding any redness on your face, like pimples and acne scars. If you have rosacea, a color correcting green primer will help hide unwanted redness and give you an even base for applying foundation.
How do you cover red scars with concealer?
The scar area will require a layering method of application. So using a small concealer brush for precise application, dab the concealer over the scar until the color matches the rest of your skin tone. This may take a couple of layers. Keep the layers thin, and use a very delicate dabbing motion.